Preserving

Out of the frying pan, into the... jam jar?

IMG_9911.jpg

A little while ago, I wrote about my new love of herbed fruit jams. Before that, I told you about the Japanese knotweed jelly I was enjoying.  If you hadn't figured it out, I really love making jellies and jams. I've said before that preserves make me feel rich. All lined up in my pantry, they're like luminous jewels, ensuring that, no matter what goes wrong in this world, I have something tasty to spread on my toast.

There was a time when I didn't consider anything less than an 6-pint batch of jam to be worth my time. I wanted, for my efforts, to have at least a dozen 1/2-pint jars gleaming at me, their tops pinging shut amid the steam and the stickiness of my fruit-spattered kitchen. It was thrilling. I felt like an old-fashioned homesteader, a pioneer wife lovingly preserving the season's bounty for my adoring family.

But that was a simpler time, before my family grew to include two boys who, if left unattended for five minutes, will destroy one another or my home (or both). I just don't have the hours I once had to dedicate to the pitting of cherries or the peeling of apples. My preferred method of fruit preservation, these days, is cutting it up, winging it into bags, and stashing it in the deep freeze, then keeping my fingers crossed that we don't lose power for any length of time over the winter.

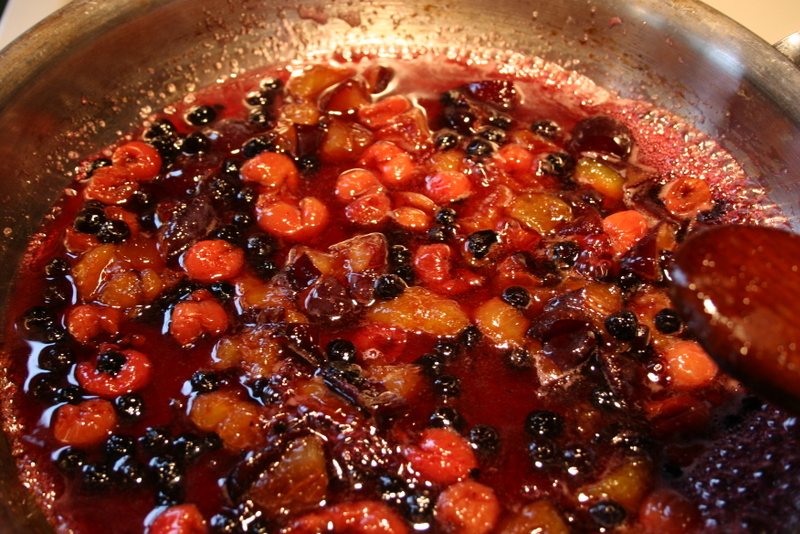
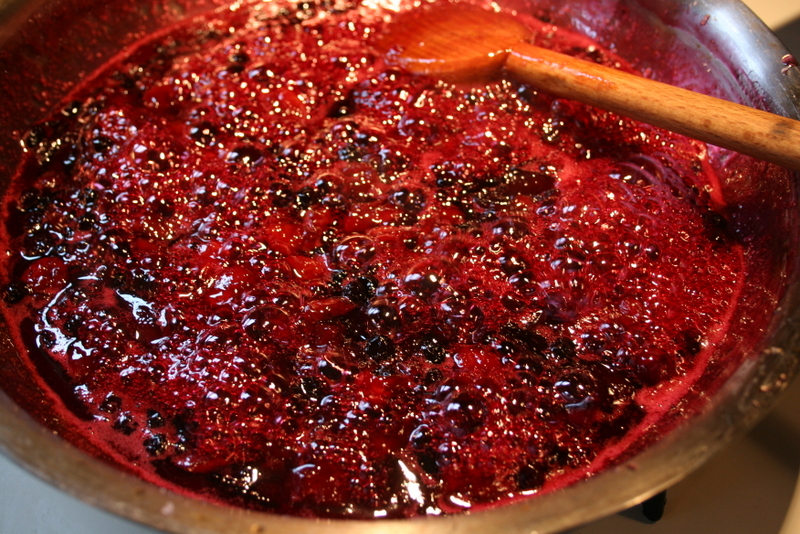
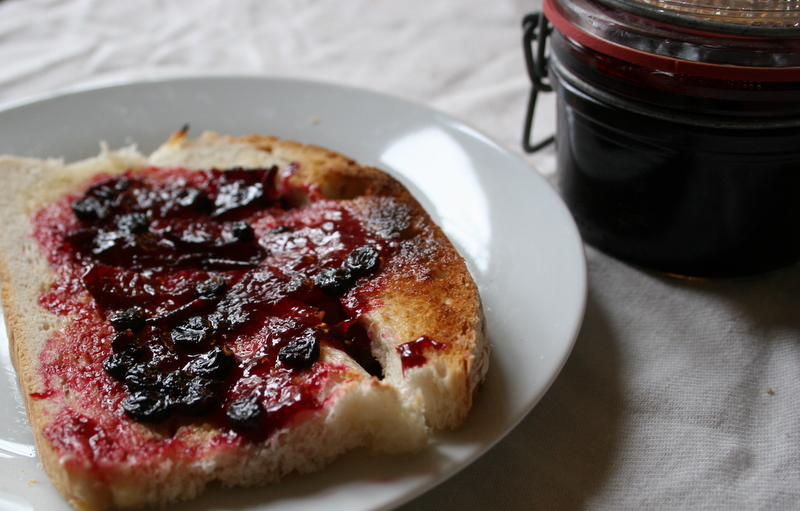
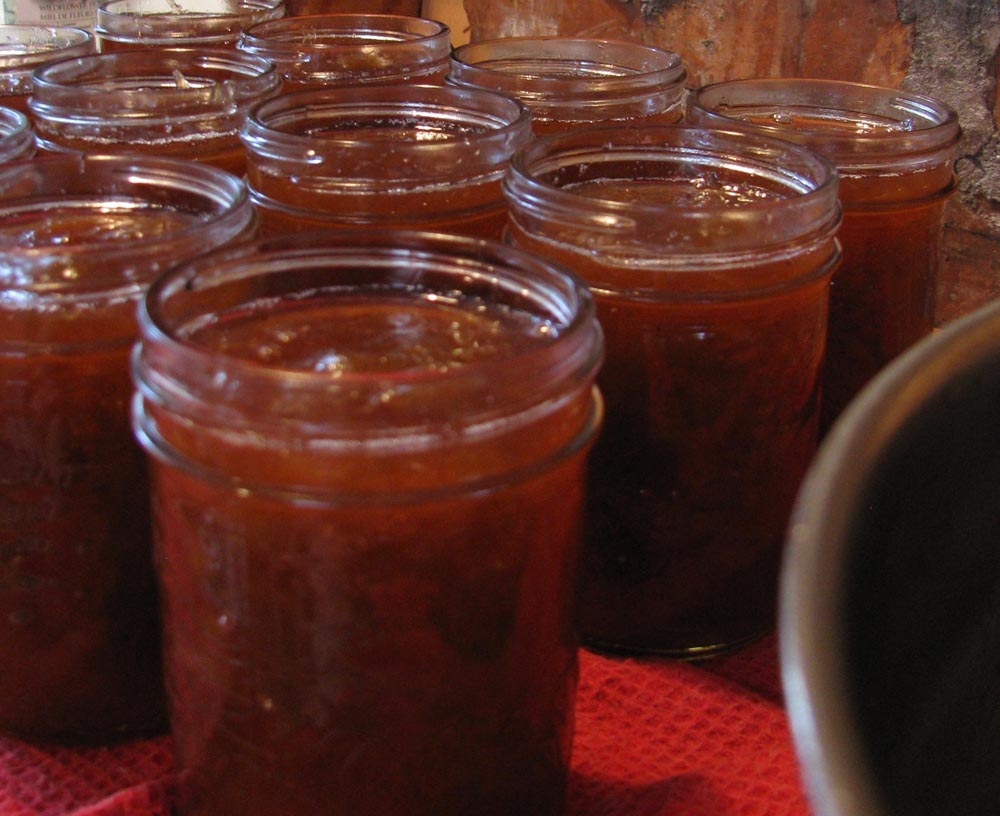
And yet, this family still needs jam. For toast, for sandwiches, for dropping spoonful-heavy into bowls of thick, white yogurt. So what do I do? I go to the freezer, bust out a few cups of frozen berries or some plum or peach halves, and then toss those into my trusty stainless steel skillet. This is one circumstance when I don't use my cast-iron pan: the iron can discolour the fruit, and the oil that seasons the pan can leave a weird slick on the finished jam. For one jar of jam, I use about a cup and a half to two cups of fruit, and somewhere between three-quarters of a cup and a cup and a half of sugar, depending on how tart the fruit is. If the fruit is in big pieces (like peaches or plums), I cut them up, or just leave them whole and take a potato masher to them as they cook down in the pan. I stir them together in the skillet, and cook them over rather high heat, stirring with a wooden spoon to make sure the fruit doesn't stick. When it's nicely simmering and the individual pieces of fruit are starting to break down (between 5 and 15 minutes, depending on the fruit), I squeeze in about a tablespoon of lemon juice (from a bottle). After another few minutes of simmering the jam should be thickening up nicely. I do the usual test to see if it's set up enough: I keep a bunch of spoons in the freezer, then test the jam by taking one frozen spoon, dropping some of the jam on it, then waiting a minute and seeing if it wrinkles when I stick my finger in it. Wrinkles mean it's ready. Then I scrape the whole thing into a clean jar, put a lid on it, and let it cool completely before putting it in the fridge.

There are some excellent advantages to making one jar of jam at a time. Because it's going straight into the fridge (and then onto my toast), I don't bother setting up the canner or sterilizing everything, any more than I would sterilize containers before packing away leftovers. Squeaky clean is good enough. The small amount is perfect for trying handfuls of fruit leftover from last year's freezer stash, or from the kids' snacks and lunches, or the one or two pieces of fruit looking a bit shriveled on the counter. If the combination works out, you can feel triumphant about having salvaged fruit that would otherwise have ended up in the compost, and if it doesn't work out (which really practically never happens), you can always bake it into a cake or muffins something, rather than having to suffer through a dozen jars of unpleasant preserves. If it doesn't thicken up, no big deal - pour it on ice cream or yogurt or pound cake, and try a new combination for the next jar.

When my kids are a little older, and I can shoo them away for long enough to do some massive batches of jam, I'll be right back into it, I'm sure. I still love those long lines of gleaming jars along the pantry shelf, and I love that sound of snap lids snapping away. But I won't let my lack of time stop me from making delicious jam whenever I have twenty minutes or so to spare. If you've been wary of preserving because it's so time consuming, maybe you just need to start slow - one jar at a time.

Eclectic Edibles

Eclectic Edibles

We have entered the season of plenty. So much to write about, but all of my time is being taken up with hikes and gardening. Here are a few bits and peices of information to chew on. In this post, you'll find info on dandelions, lambsquarters, roses, fireweed, and crowberry.

What weed? Knotweed!

IMG_7485.jpg

When Costa wrote his defense of Japanese knotweed last month, I was very excited. So excited that I almost immediately ran to the lot at the top of my street with a paring knife and filled a paper bag with bright, tender knotweed shoots. I turned them into a tasty soup and was most impressed with myself. The next week, I tried serving plain steamed knotweed spears as a side dish. This time, I am afraid to say, I was not so pleased. Steamed, the knotweed took on this pallid olive-green tone, and deflated into a mass of floppy, stringy mush before my very eyes. Not to my taste, not one bit.

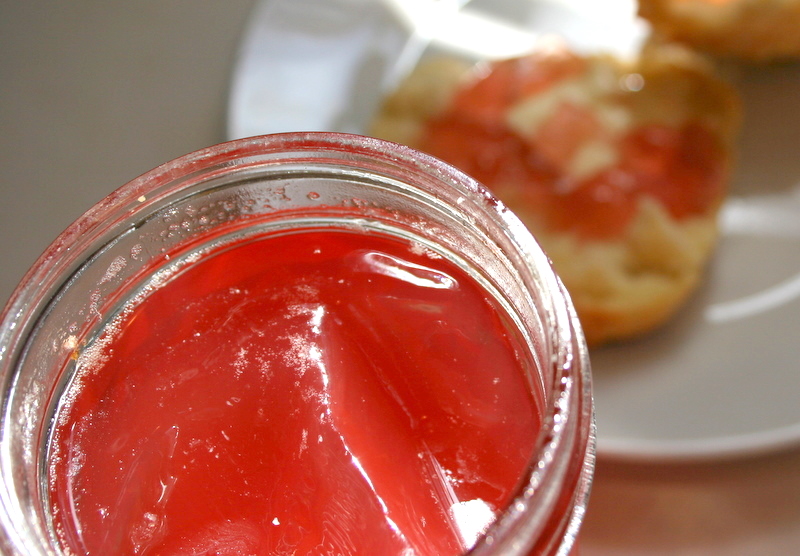
The knotweed has been redeemed, though. Earlier this week I made knotweed jelly, following this recipe, which you may have already seen: it's one of the first things that comes up when you search "Japanese knotweed recipes." I followed the recipe exactly, except that I decided to half it, just in case it turned out to be horrible. It didn't, though. It's lovely!

It's surprisingly mellow in flavour, and almost floral. I ate it on scones, but I think it would be nice swirled into a cheesecake or used to fill thumbprint cookies. You could also keep it on hand to use as a glaze for sweet baked goods and fruit-filled tarts: just melt a little in a pot over low heat and spoon or brush it over the surface of your baked, cooled tasties. (If you haven't done any canning before, read the instructions on the Bernardin site: they're excellent.)

Since I only used part of the knotweed juice from the jelly recipe, I had enough to spare to make some knotweed curd. It was one of those "why not?" situations. I love lemon curd, and I love rhubarb curd, so why not try knotweed curd? I adapted Nigella Lawson's lime curd recipe to come up with this:

Japanese knotweed curd

(makes about 350 mL)

  • 5 tablespoons unsalted butter
  • 1/3 cup sugar
  • 1/2 cup knotweed juice
  • 1 tablespoon lemon juice
  • 2 extra-large eggs, plus one egg yolk, beaten

In a medium saucepan, melt butter over low heat. Add all other ingredients and whisk to combine. Continue to heat, stirring constantly, until mixture thickens up. If you want to check if it's thick enough, lift out your spoon and run your finger through it: if it looks thick enough, it is! Pour the curd through a sieve into a clean jar. Cover and cool. Will keep in the fridge for a week or so.

The yellow of the happy egg yolks (from the Goulds, via Halliday's) overtook the pink of the knotweed juice, and the flavour is quite subtle, but it is tasty and custardy. Of course, having a jar of curd in the house, and a leftover egg white, I had practically no choice but to make a few knotweed meringue tartlets. I was inspired by the orange curd tart on Rock Recipes (an awesome local recipe site), but I didn't want an entire tart in my house, as I would have eaten the whole thing (I cannot be trusted in the presence of meringue).

I wish I could give you a recipe, but, really, I was winging it. My usual pie crust recipe is here, and for the tarts I made about 1/3 of a batch. I pre-baked my three wee tart crusts in upside-down wide-mouth canning rings, because I don't have any mini tart rings. If you've never pre-baked a pie crust, there's a good explanation of the best way to do it here. If you make mini-tarts, you'll have to adjust the time: I had mine in the oven for about 7 minutes.

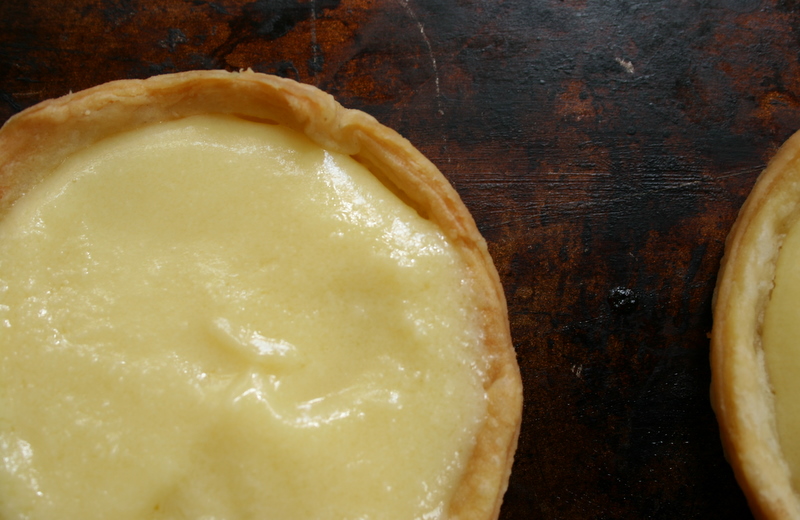
Once that was done, I filled the pastry shells with curd, like so:

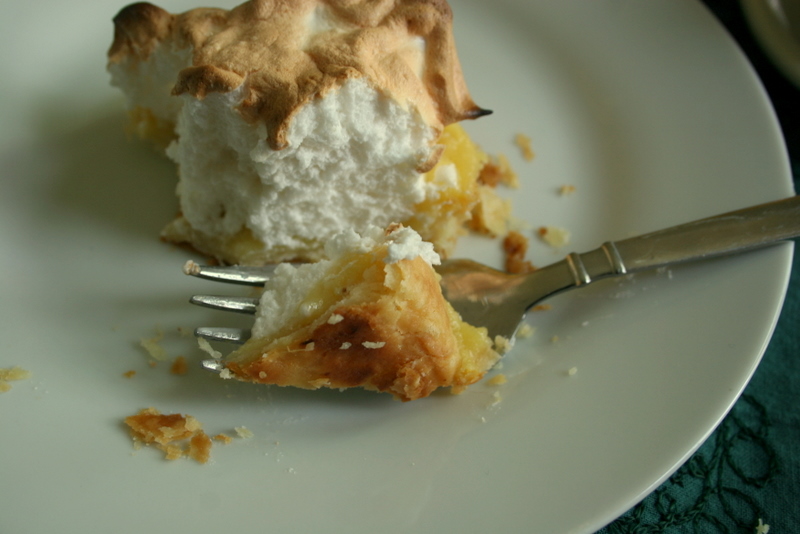
Then I whipped the egg white with 1/8 teaspoon of cream of tartar until soft peaks began to form, then I added a little less than 1/4 cup of sugar and whipped a bit more. I overwhipped a little, actually, and had to smoosh the meringue on to the tarts with my fingers because it was too thick to spread. Ooops! I popped the tarts back into the oven at 400F for a couple minutes to brown, then let them cool.

Come mid-afternoon, I rewarded myself for my ingenuity with a knotweed meringue tart and a cappuccino. It was marvelous! Not tangy like a lemon tart, but the marshmallowy meringue provided a nice textural contrast to the dense, eggy curd. Really, you should give it a try! If my vague instructions are too loosey-goosey for you (and I don't blame you if they are), just make the curd and use a favourite lemon meringue pie recipe (or the Rock Recipes one above), filling the shell with knotweed curd instead of the usual filling.

Let me tell you, I'm definitely looking at those encroaching fields of knotweed in a new light. I'll be making another batch of knotweed jelly this week, and maybe some extra for holiday presents. I can almost guarantee nobody's going to say, "Oh, man, not another jar of homemade Japanese knotweed jelly!"

She Certainly Can... Can-Can!

Keynote Blogger: Andreae Prozesky, Food Nerd, The Scope

I’m not a rich woman. I probably never will be. I take my feelings of wealth where I can find them. The gleam of apple jelly through the criss-cross pattern of my favourite canning jars is likely as close as I’ll ever get to a real diamonds. My translucent bottles of berries, cherries, plums, and rhubarb are like rubies and amethysts and garnets and topaz to me. Peering into my pantry, I feel as though I’ve just walked into Tiffany’s.

Jewels and stones might make an outfit, but homemade brandied fruit makes a Christmas trifle. Jams and jellies beat diamonds any day when it comes to toast-topping, and rhubarb sauce over ice cream is as splendid a thing as anything I can think of.

For the last two years, I’ve been canning just about anything that fits into a jam jar. Some of my experiments have been great successes – blackcurrant jelly, damson jam, pineapple rhubarb conserve with walnuts, and balsamic fig chutney have all been big hits. There have been failures, too – flavourless green tomato relish, the way-too-big batch of grapefruit marmalade (how much grapefruit marmalade can I eat in over a winter?), and the entirely regrettable garlic-chive jelly.

I haven’t bought jam in a shop in well over a year. I’m not sure this has made much of an impact on my finances (sugar and jars do cost something, even if the fruit is usually free), but it’s a source of some pride, and it’s also one thing I don’t have to kick myself for forgetting at the grocery store. Commercial jam may taste like fruit, yeah, but homemade jam tastes like sun-warmed fruit picked with care in a field or off the side of the highway or behind your house. It’s a nuance that’s hard to describe, but you know it when you taste it.

One of the things I can most often, and with the greatest success, is rhubarb. It’s as local as produce comes around here, much of it growing completely untended in people’s backyards. We’re nearing the tail end of rhubarb season now, but there’s till plenty to go around. Maybe you, like me, still have a bunch sitting in the freezer, chopped and cleaned and waiting to be transformed into something useful. Rhubarb jam is delicious, especially with almond butter on a bagel. Rhubarb chutney is excellent with crackers and cheese, or over a baked brie (if you have chutney in your pantry, you can always say, “I’ll bring the starters” when you’re invited to a pot-luck).

But my greatest rhubarb triumph came a few weeks ago, when I made some vanilla honey rhubarb sauce to sell at the farmers’ market. Ever since, I’ve had people e-mailing and phoning and stopping me in the street to talk about it. It wasn’t any fuss to make, and my goodness was it delicious. There is some time management involved, but none of the individual steps are at all difficult. It makes a beautiful topping for pound cake or ice cream (or both), or, according to one happy customer, as a dip for, ahem, mini-doughnuts.

Vanilla Honey Rhubarb

Vanilla honey rhubarb sauce

(makes about 6 250-mL jars)

1200 g rhubarb, cleaned and chopped (to help you visualize, this amount fits in one of the smaller-size plastic spinach containers from the grocery store)

900 g organic cane sugar

200 g organic honey

2 vanilla pods

1. Two days before you plan to make your sauce, put your rhubarb in a big pot and cover it with the sugar. Cover and place it in the fridge, stirring every now and then (like 3 or 2 times a day) to help the sugar dissolve.

2. At the same time, warm your honey in a small pan over low heat to make it a little more liquid. Split vanilla beans open with the tip of a paring knife, and scrape seeds into the honey. Add pods to honey and remove from heat. Let cool to room temperature, then pour honey into a clean jar and cover. Set in a dark cupboard to steep.

3. When you’re ready to make your sauce, remove rhubarb from fridge and place on stove. Bring to a boil, skimming off any foam that accumulates on the surface. Simmer until it starts to thicken, about 20 minutes. Stir in honey, removing pods.

4. Pour hot sauce into clean jars and process 10 minutes. If this is your first time canning, there are great instructions here: www.homecanning.ca.

Happy Canning!

***

Andreae Prozesky lives in St. John's and writes the Food Nerd section for The Scope www.thescope.ca and blogs at withthecrickets.blogspot.com