Planting

Compost hokey pokey- what goes in and what stays out

CP-Kitchen-Catcher-2.jpg

"You put your green scraps in, you keep the meat out, you put your brown scraps in, you leave the dairy out. You do the hokey-pokey and stir the compost 'round, and that's what it's all about!" Thinking of starting up a backyard compost bin or want to get the most from the one you have? For a healthy compost bin, put in an equal amount of green and brown organic waste. That balance helps to maintain the ideal moisture level and the right ratio of nitrogen to carbon to help decomposer organisms get the job done turning waste into compost.

The following information is an excerpt from the soon-to-be released RCR workshop on composting- more details here! The full workshop includes information on vermicomposting too, so keep an eye out for upcoming posts on that.

Put these things in your backyard compost bin:

Browns provide carbon (energy for decomposer organisms) and they are dry and fibrous. Greens provide nitrogen (for decomposer organisms' growth & reproduction) and they are fresh and moist.
  • paper  (shredded or ripped up small)
    • white paper
    • newspaper
    • boxboard like from cereal and cracker boxes
    • egg cartons
    • drink trays
    • paper towel and toilet paper rolls
    • napkins and paper towels
    • coffee filters
    • tea bags
  • dried leaves
  • dried grass clippings
  • grain foods (cooked or dry; without any sauce or oil)
    • pasta
    • rice
    • bread
    • other grains

Note: As with fruits and vegetables, it is best to put in the smallest grain food pieces possible. Grains like rice are already perfect, but whole pieces of bread should be broken up smaller. Large grain products may start to mold before they are broken down if they are put in whole.

  • twigs, stalks and branches (broken up very small)
  • floor sweepings
  • pet and human hair
  • pet bedding like wood chips and paper
  • dryer lint (but not if perfumed dryer sheets were used)
  • sawdust from untreated wood
  • peat moss
  • chopped up straw
  • ashes from untreated wood
  • tea leaves
  • coffee grinds
  • fruits peels and scraps cut up small
  • vegetable peels and scraps cut up small

Note: The smaller you cut up fruits and vegetables before adding them to compost, the easier it will be for decomposers to break them down. To get finished compost faster put in smaller items. Large items like oranges may start to mold before they are broken down so avoid adding them whole.

  • fresh grass clippings
  • fresh garden waste like pulled weeds and trimmings
  • manure
  • pet droppings (not from cats or dogs, but rabbit and hamster droppings are okay)
  • fresh hay
  • egg shells

Note: Before adding eggshells rinse them out and crumble them up small, being careful of their sharp edges. Do not add eggshells if the egg has been boiled in them.

  • seaweed

Note: Seaweed has been traditionally used in Newfoundland and Labrador for composting and it is an excellent addition to your bin. As with other organic matter, if it is in large pieces then it is best to break it up smaller before adding it to your compost so that it will decompose faster.

Leave these things out of your backyard compost bin:

*Some of the items are compostable but they may attract pests, take a really long time to decompose or give off unpleasant odours, so they are best avoided when backyard composting.

Avoid:
  • meat, fish, poultry
  • bones
  • dairy, including cheese and yogurt
  • fats (including grease, oil, lard, butter, margarine, or mayonnaise)
  • sauces and dressings

Note: Traditionally people in Newfoundland and Labrador did use some of the above items for their compost, especially small fish like capelin and the leftovers from processing larger fish like cod. However, using them in your backyard or vermicompost could be problematic because they may attract pests and could give off unpleasant odours. Commercially-made compost often has fish offal in it because it has been made on a farm or in a facility that can manage those issues. If you want fish-based compost because of its beneficial properties, it is best to purchase some rather than making it at home.

  • Eggshells that eggs have been boiled in: they break down very slowly and could begin to smell.
  • Bulky items like tree branches, pieces of wood or thick cardboard that will take up a lot of space and decompose very slowly.
  • Weeds that have gone to seed- composting may not kill the seeds and they could germinate and spread when you use the finished compost.
  • Dog and cat waste- they may have pathogens in them that are harmful to humans.
  • Plants that have had pesticide treatment or are diseased- the pesticides or disease could affect your garden when you use the finished compost.
  • Coniferous tree clippings, Christmas trees and pine cones- they break down very slowly.
  • Glossy or wax-coated papers
  • Vacuum fill or other sources of synthetic fibres- carpet fibres are usually not organic and will not break down.
  • Non-organic materials such as glass and metals

Do you put something else in your backyard compost bin that we've missed? Leave a comment below!

Tasty, tasty tubers!

IMG_0266.jpg

Some of you may remember my tale from a couple weeks back about how my one-year-challenge to eat something I had grown or foraged every day for a full year was a total failure, due to my having been hijacked by hormones through the fall and winter. Since then I've been back on track, eating delicious sprouts and microgreens, which I have been tending lovingly in their jars and recycled containers that deck my windowsills. I've sown some seeds for spring and summer vegetables. I've been snipping and clipping from my potted rosemary, lemon thyme, and sage plants, and in no time at all I'll be gathering teapots of mint and lemon balm from the weedy recesses of the back yard. One other plant has emerged to help me get through a few days of homegrown eats, too: the knobbly, delicious Jerusalem artichoke.

If you've never eaten a Jerusalem artichoke, you're certainly not alone. I've never seen them in a grocery store in Newfoundland, and only a handful of local farms grow them. I first ate them in Montreal when I lived there, and only in restaurants, so I had never cooked them myself until this week, when I dug them up from the frosty dirt where they had been hiding out since last fall.

Jerusalem artichokes aren't really artichokes: they're sunflowers, native to the eastern part of North America, where they were a staple food long before the Europeans showed up and took them back with them as novel delicacies. There is a lot of lore around the name, and the accepted explanation is that the "Jerusalem" bit comes from the Italian girasole, which means "sunflower," and that the "artichoke" bit comes from French explorer Samuel de Champlain's description of the tuber's flavour as being like an artichoke, although, frankly, I don't get the similarity.

So what do they taste like? Sweet, nutty, crunchy when raw (really crunchy, like, water chestnut crunchy), potato-y when cooked (although they tend to go mushy very quickly when boiled, so steaming, roasting, and pan-frying are recommended). They're really very yummy.

There are two caveats to growing Jerusalem artichokes. The first is that they are notoriously invasive, so you might not want to plant them directly in the ground. Apparently, even the smallest bit of tuber left behind will sprout again, which is all fine and good if you have the time and energy and wherewithal to dig them up year after year until the end of time, but if you move, the next people to inhabit your garden might be less than impressed. The second is that Jerusalem artichokes are sunflowers, and sunflowers can suck a lot of lead out of your soil, so if you live in an area with dodgy dirt, you might want to grow them in a container. I tried to come up with some kind of cool planter option last year, but as the spring crept on I ran out of time, and just flung a bag of soil on the ground, cut a big hole in the top and some drainage holes around the bottom, and stuck my seed tubers down in it. The yield wasn't huge, but since I had them in close quarters, in a shady spot, during the most miserable summer in recent memory, I'm impressed they did anything at all, really. This year, my husband and I are going to dig a trench for them and line it with something they can't get out of, in an area of the yard where they'll get more sunlight, and where they'll have a bit more space to spread their roots.

Oh, there's a caveat to eating them, too: apparently some people have a hard time digesting them, and thus the tubers have earned the nickname "fartichokes." Ahem. Now, I can report that I have had no such reaction, and I am very happy about that. British garden writer Alys Fowler solves the wind problem by cooking her Jerusalem artichokes with winter savory. I may have escaped a gassy fate through my negligence: I've read that leaving them in the ground for a hard frost or two helps them convert the troubling carbs, making digestion easier. A full winter of freeze and thaw seems to have sorted them out nicely.

Jerusalem artichokes can grow quite tall - over 20 feet in warmer climes, but easily six or eight feet here. Mine didn't flower last year (no sun, no sunflowers), but the flowers are cheerful and yellow when they do appear. They attract all kinds of helpful insect friends. They're so pretty, actually, that Monet painted them. The variety I grew is called Passamaquoddy Potatoes from Hope Seeds, but unfortunately they're not available this year. If you can get your hands on some Jerusalem artichokes from a local grower, I suggest you toss a few in some good soil and see what happens. Come springtime, you may well be thanking yourself.

The garden that lived

IMG_0233.jpg

I had high hopes for my fall and winter garden. Last summer I surrounded myself with books telling me how to extend the season and eat fresh through the year. I was ready to wrap my whole yard in greenhouse plastic and eat kale quiche all winter long. Alas, dear readers, it was not to be. In September I started feeling super run-down. Around October I started feeling downright woozy. By Thanksgiving I had figured out that I was (and am!) pregnant. Between wrangling three children and gestating a fourth, gardening, even the easy indoor stuff like sprouting, took the back burner.

But it doesn't take much for a gardener to spring back to life. A little sunshine and a bit of inspiration were all I needed. Last Saturday - a glorious, if cold, March day - I attended a discussion on urban farming, organized by the local Slow Foods group. During the talk, someone asked when the speaker planned to start his greens. His reply? They were already growing! He had a greenhouse, and he had lettuce growing away in there, under an upturned aquarium. His wife and co-gardener added that if it's warm enough for weeds to grow, it's warm enough to plant spinach.

Well. That was all it took. Yesterday, when the sun was out, I braved the remaining snow in the back yard and cracked open my neglected cold frame. You know what was in it? Dandelions. Growing. And grass, also growing, and a somewhat floppy but clearly still alive calendula. The top surface of the soil was a little frosty, and the soil around one edge was frozen pretty solid, but after a little bit of stabbing with my trowel, I had nice, loose soil that I could pick most of the weeds out of.

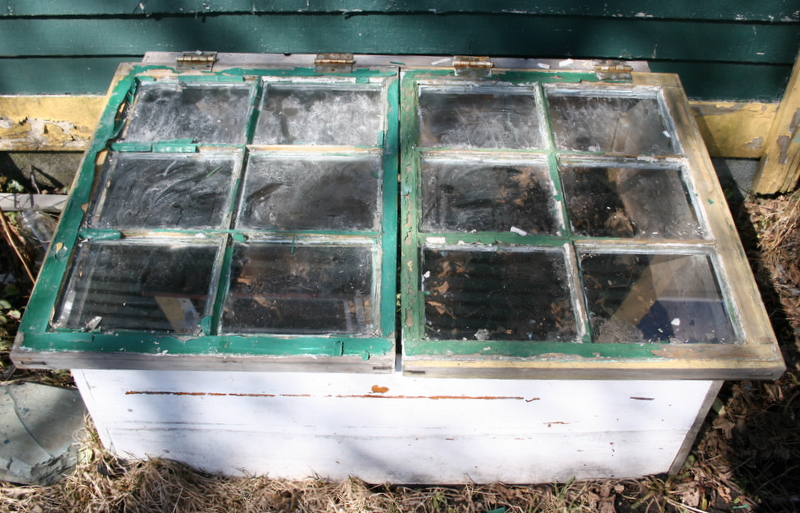
Lest you think my cold frame is some kind of fancy-pants set-up, here's a picture. It's ugly.

Pretty shabby, hey? The body of the cold frame is an old wooden dresser we got from Freecycle, and which, after a couple years of use, was in bad shape. My husband took out all the drawers and supports, and laid the whole thing on its back, then cut it down at an angle so it would make the most of the sunlight. The windows are from Power's Salvage in St. John's, and the hinges are either from Power's, or were in our basement when we bought the house. We have it facing south-west, so it gets sunlight through most of the day. It's great.

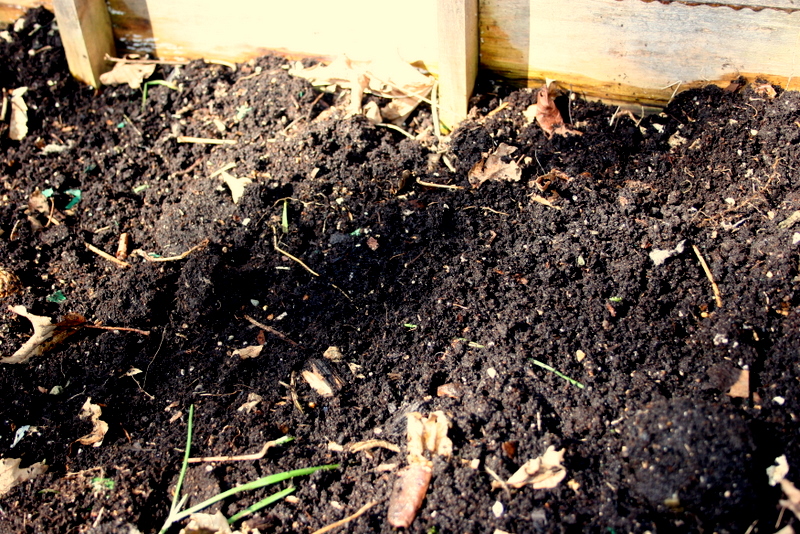
This is what the soil inside looks like:

It's not exactly warm, but it's definitely not frozen. There aren't any ice crystals, even. So I did what any sensible gardener would do: I planted some seeds. Nothing fussy, just some spinach, arugula, and radicchio. All three of those are cold-hardy greens, and they germinate at relatively low temperatures. They are also last year's seeds (I think the radicchio is from two years ago), so the germination rate might not be great, but I'll take what I can get. I wouldn't risk putting any delicate plants in the cold frame this early (the peppers, squash, eggplants, and tomatoes will have to wait), but for sturdy greens, it should be just fine.

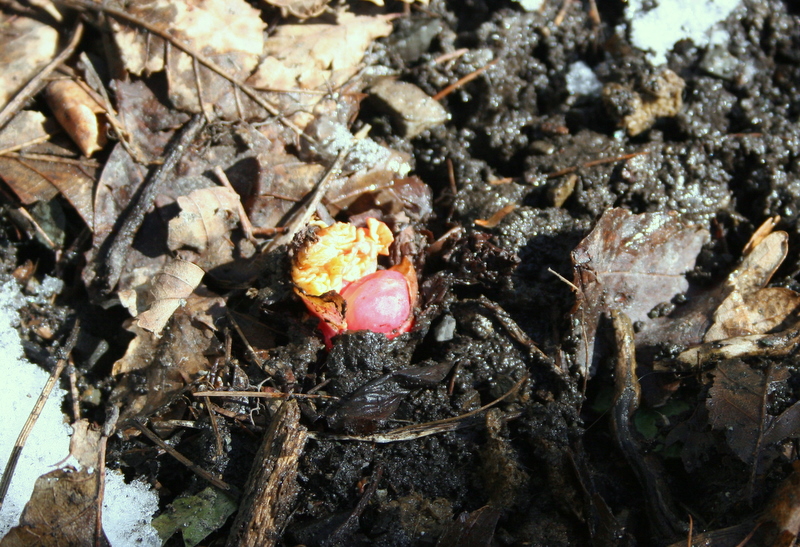
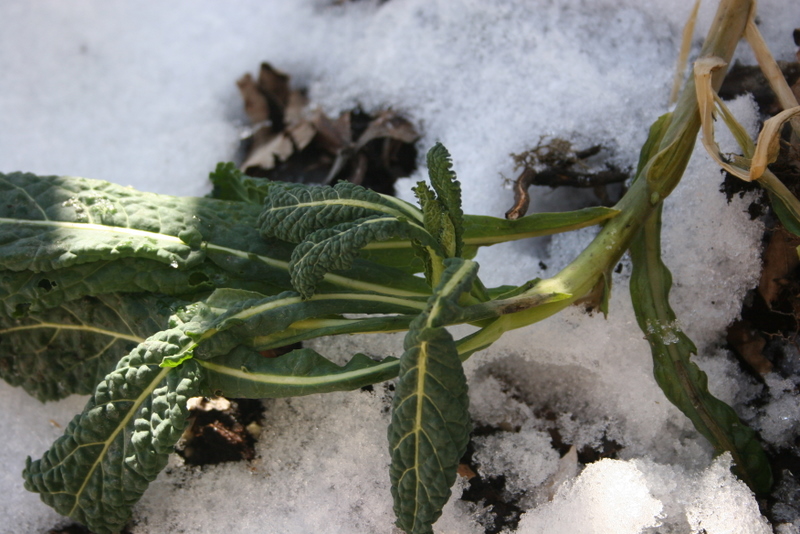
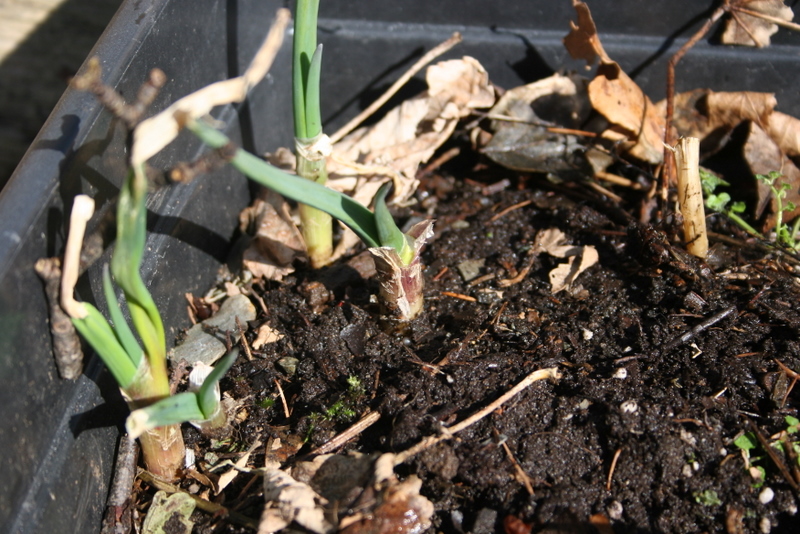
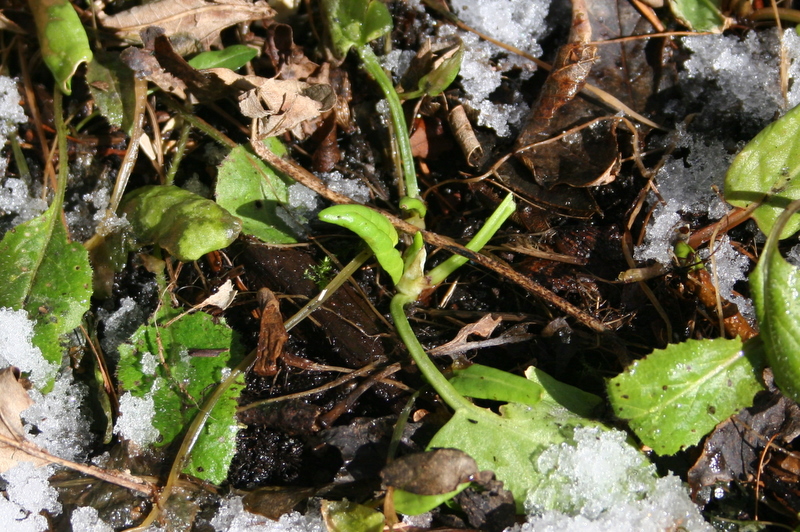
Today, even more of the snow has melted from my yard, so I decided to have a poke around and see what plants survived the winter. It's pretty amazing. I have lavender, sage, and thyme still green under the snow, and loads of vegetables growing as if winter had never happened!

It felt so good to be able to scratch, sniff, and nibble my way through the yard, in the sunshine. I know better than to trust that spring might already be here - it is, of course, only March, and our average last frost date in St. John's isn't until June 2. Still, a sneak peek at what is waiting for me once the rest of the snow melts is pretty exciting.

Did anything survive the winter in your garden?